Kitchen Remodel in North Ridgeville
kitchen Remodel in North Ridgeville: A project Spotlight

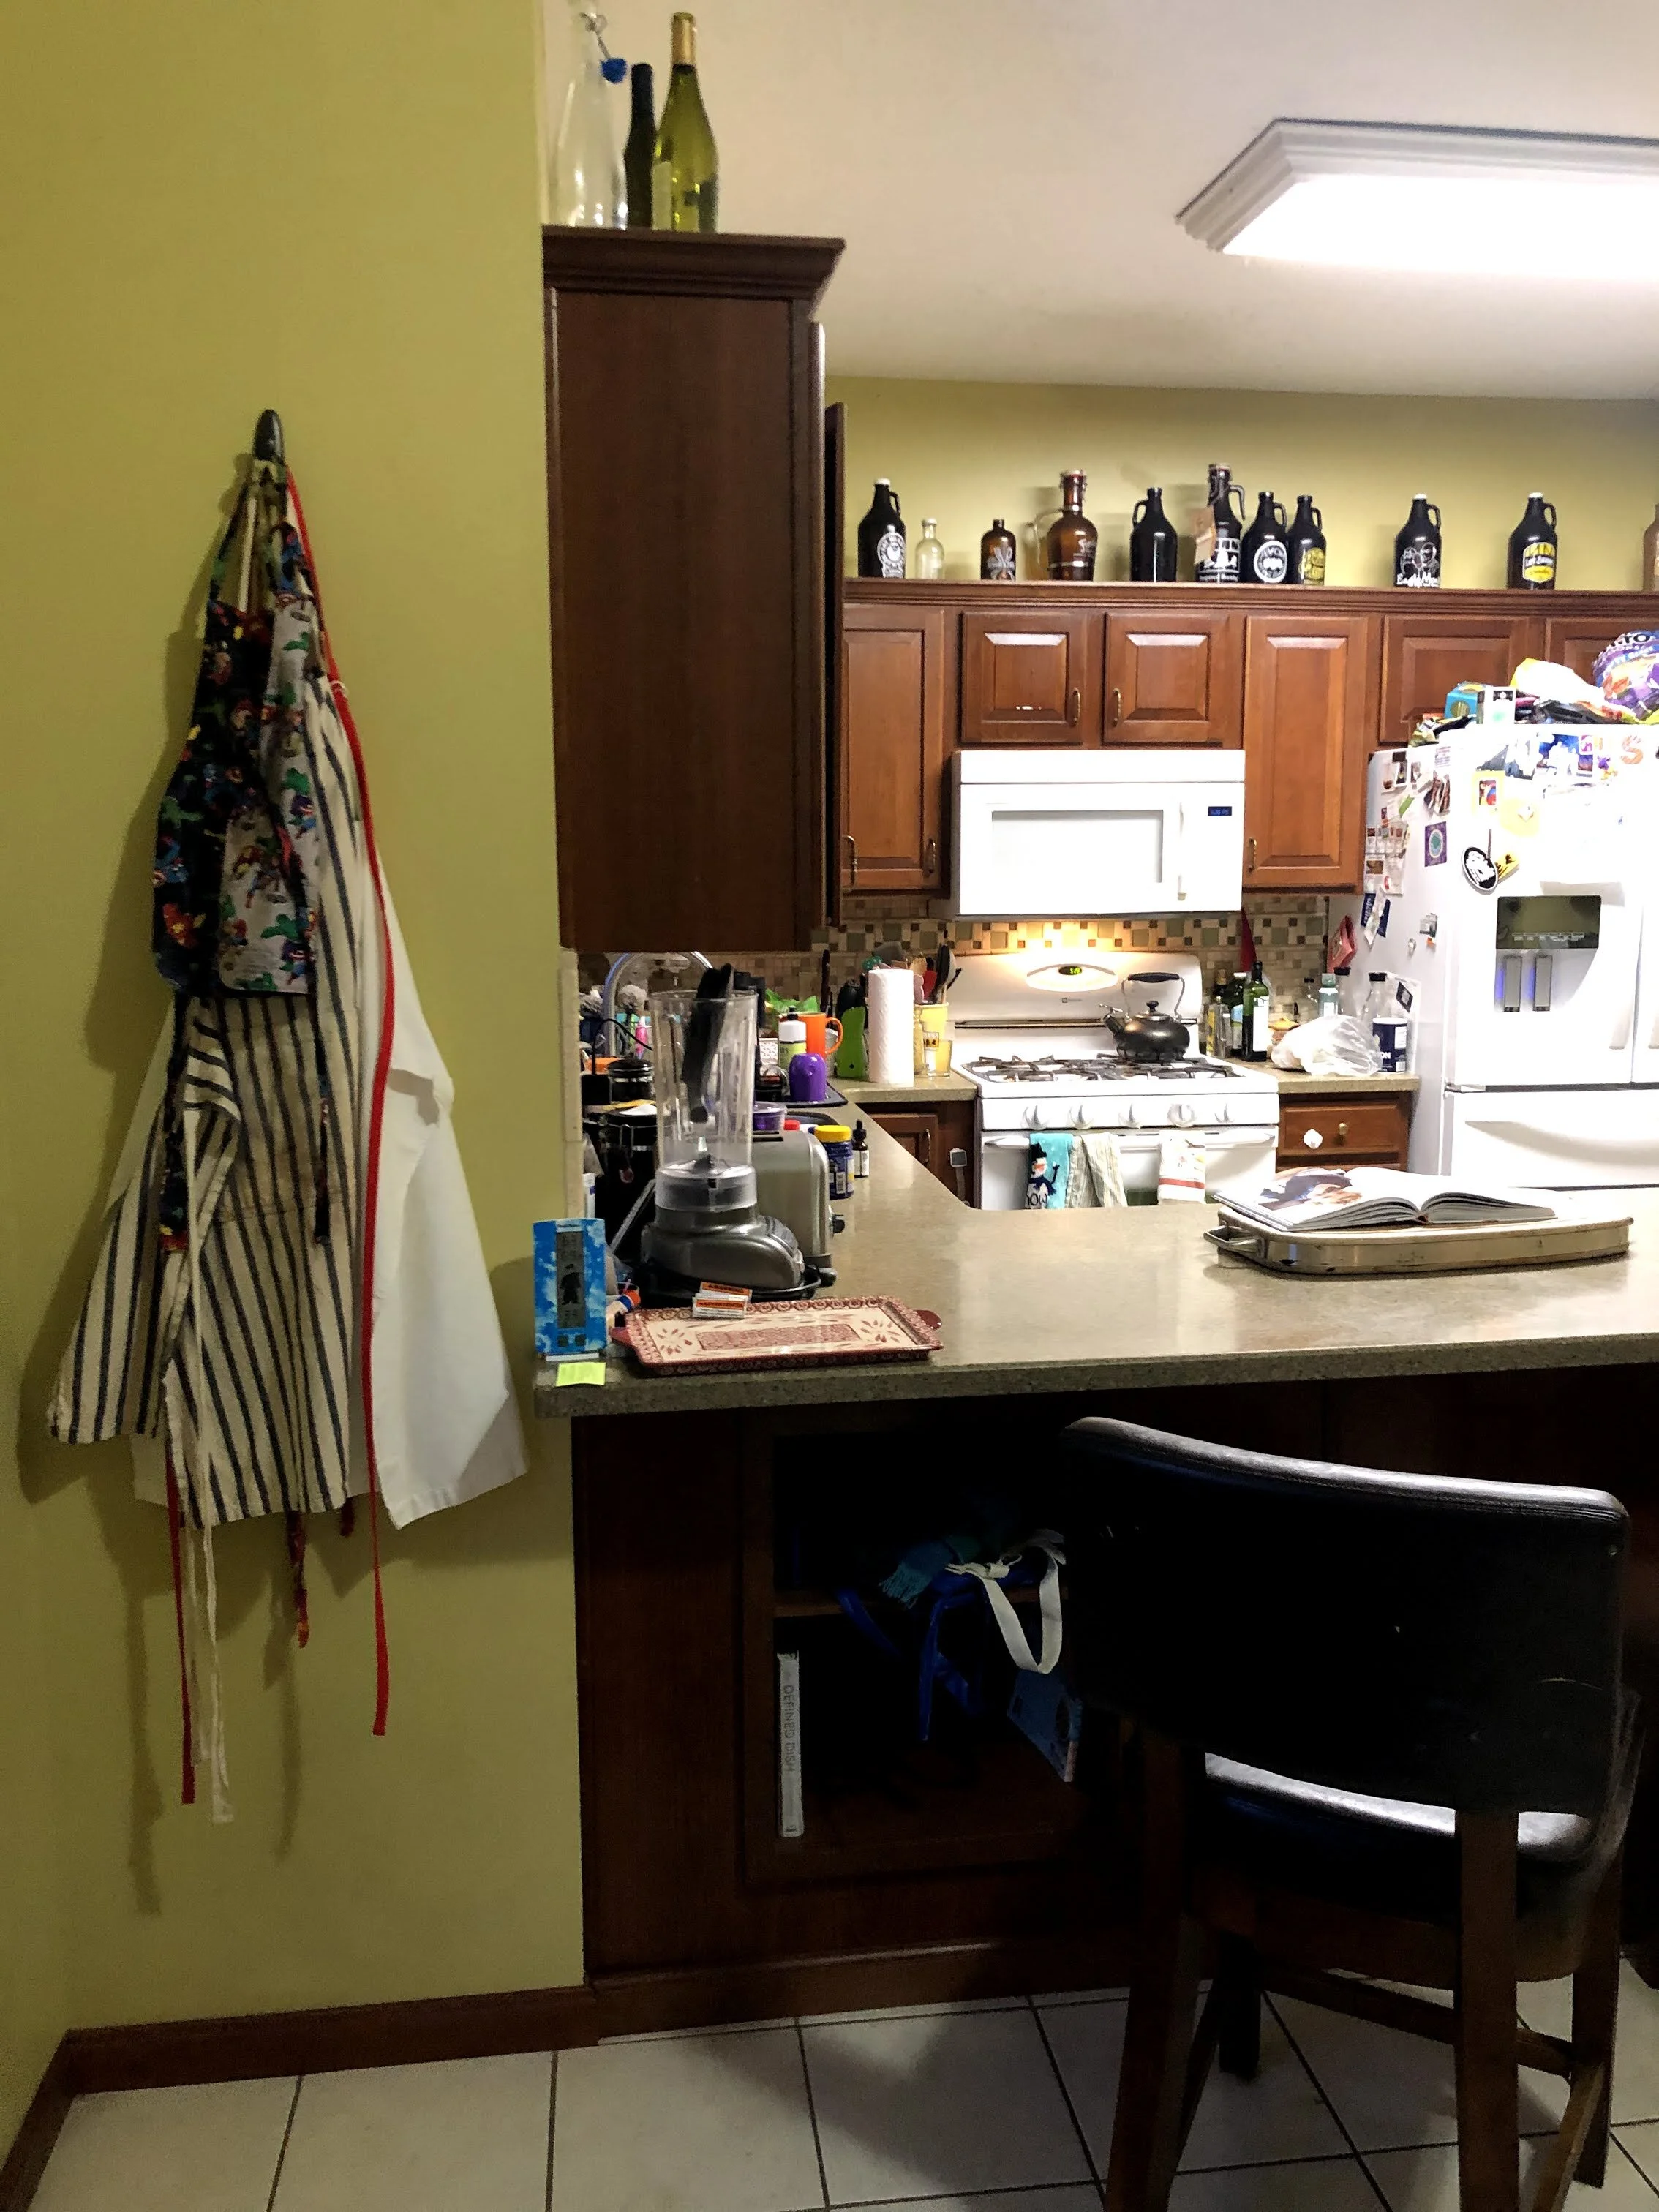
Kitchen: Before
Upon finding out that a new family member was on the way, our North Ridgeville family reached out to us for a creative kitchen upgrade. The desire was to update the space aesthetically while creating better organization with more counter space all while working within the existing footprint.
Client Wish List:
To create an overall better use of space.
To create more storage and cabinet space.
An overall stylistic update.
Addition of an informal eating area.
Priorities:
Minor layout changes within the existing footprint.
Stay within an intended investment amount.
Fully maximize existing space.
Creating the Ideal Floor Plan
The original Layout

The original floor plan’s constrained, closed off space with outdated stylistic features was not conducive for the growing family. The cabinet layout wasted precious square footage and caused friction when operating within. The issue here was not that the kitchen footprint needed to expand, but that the kitchen layout was not ideal for the current floor plan. In addition, the peninsula location made it difficult for more than one person to use the space effectively.


The New Layout

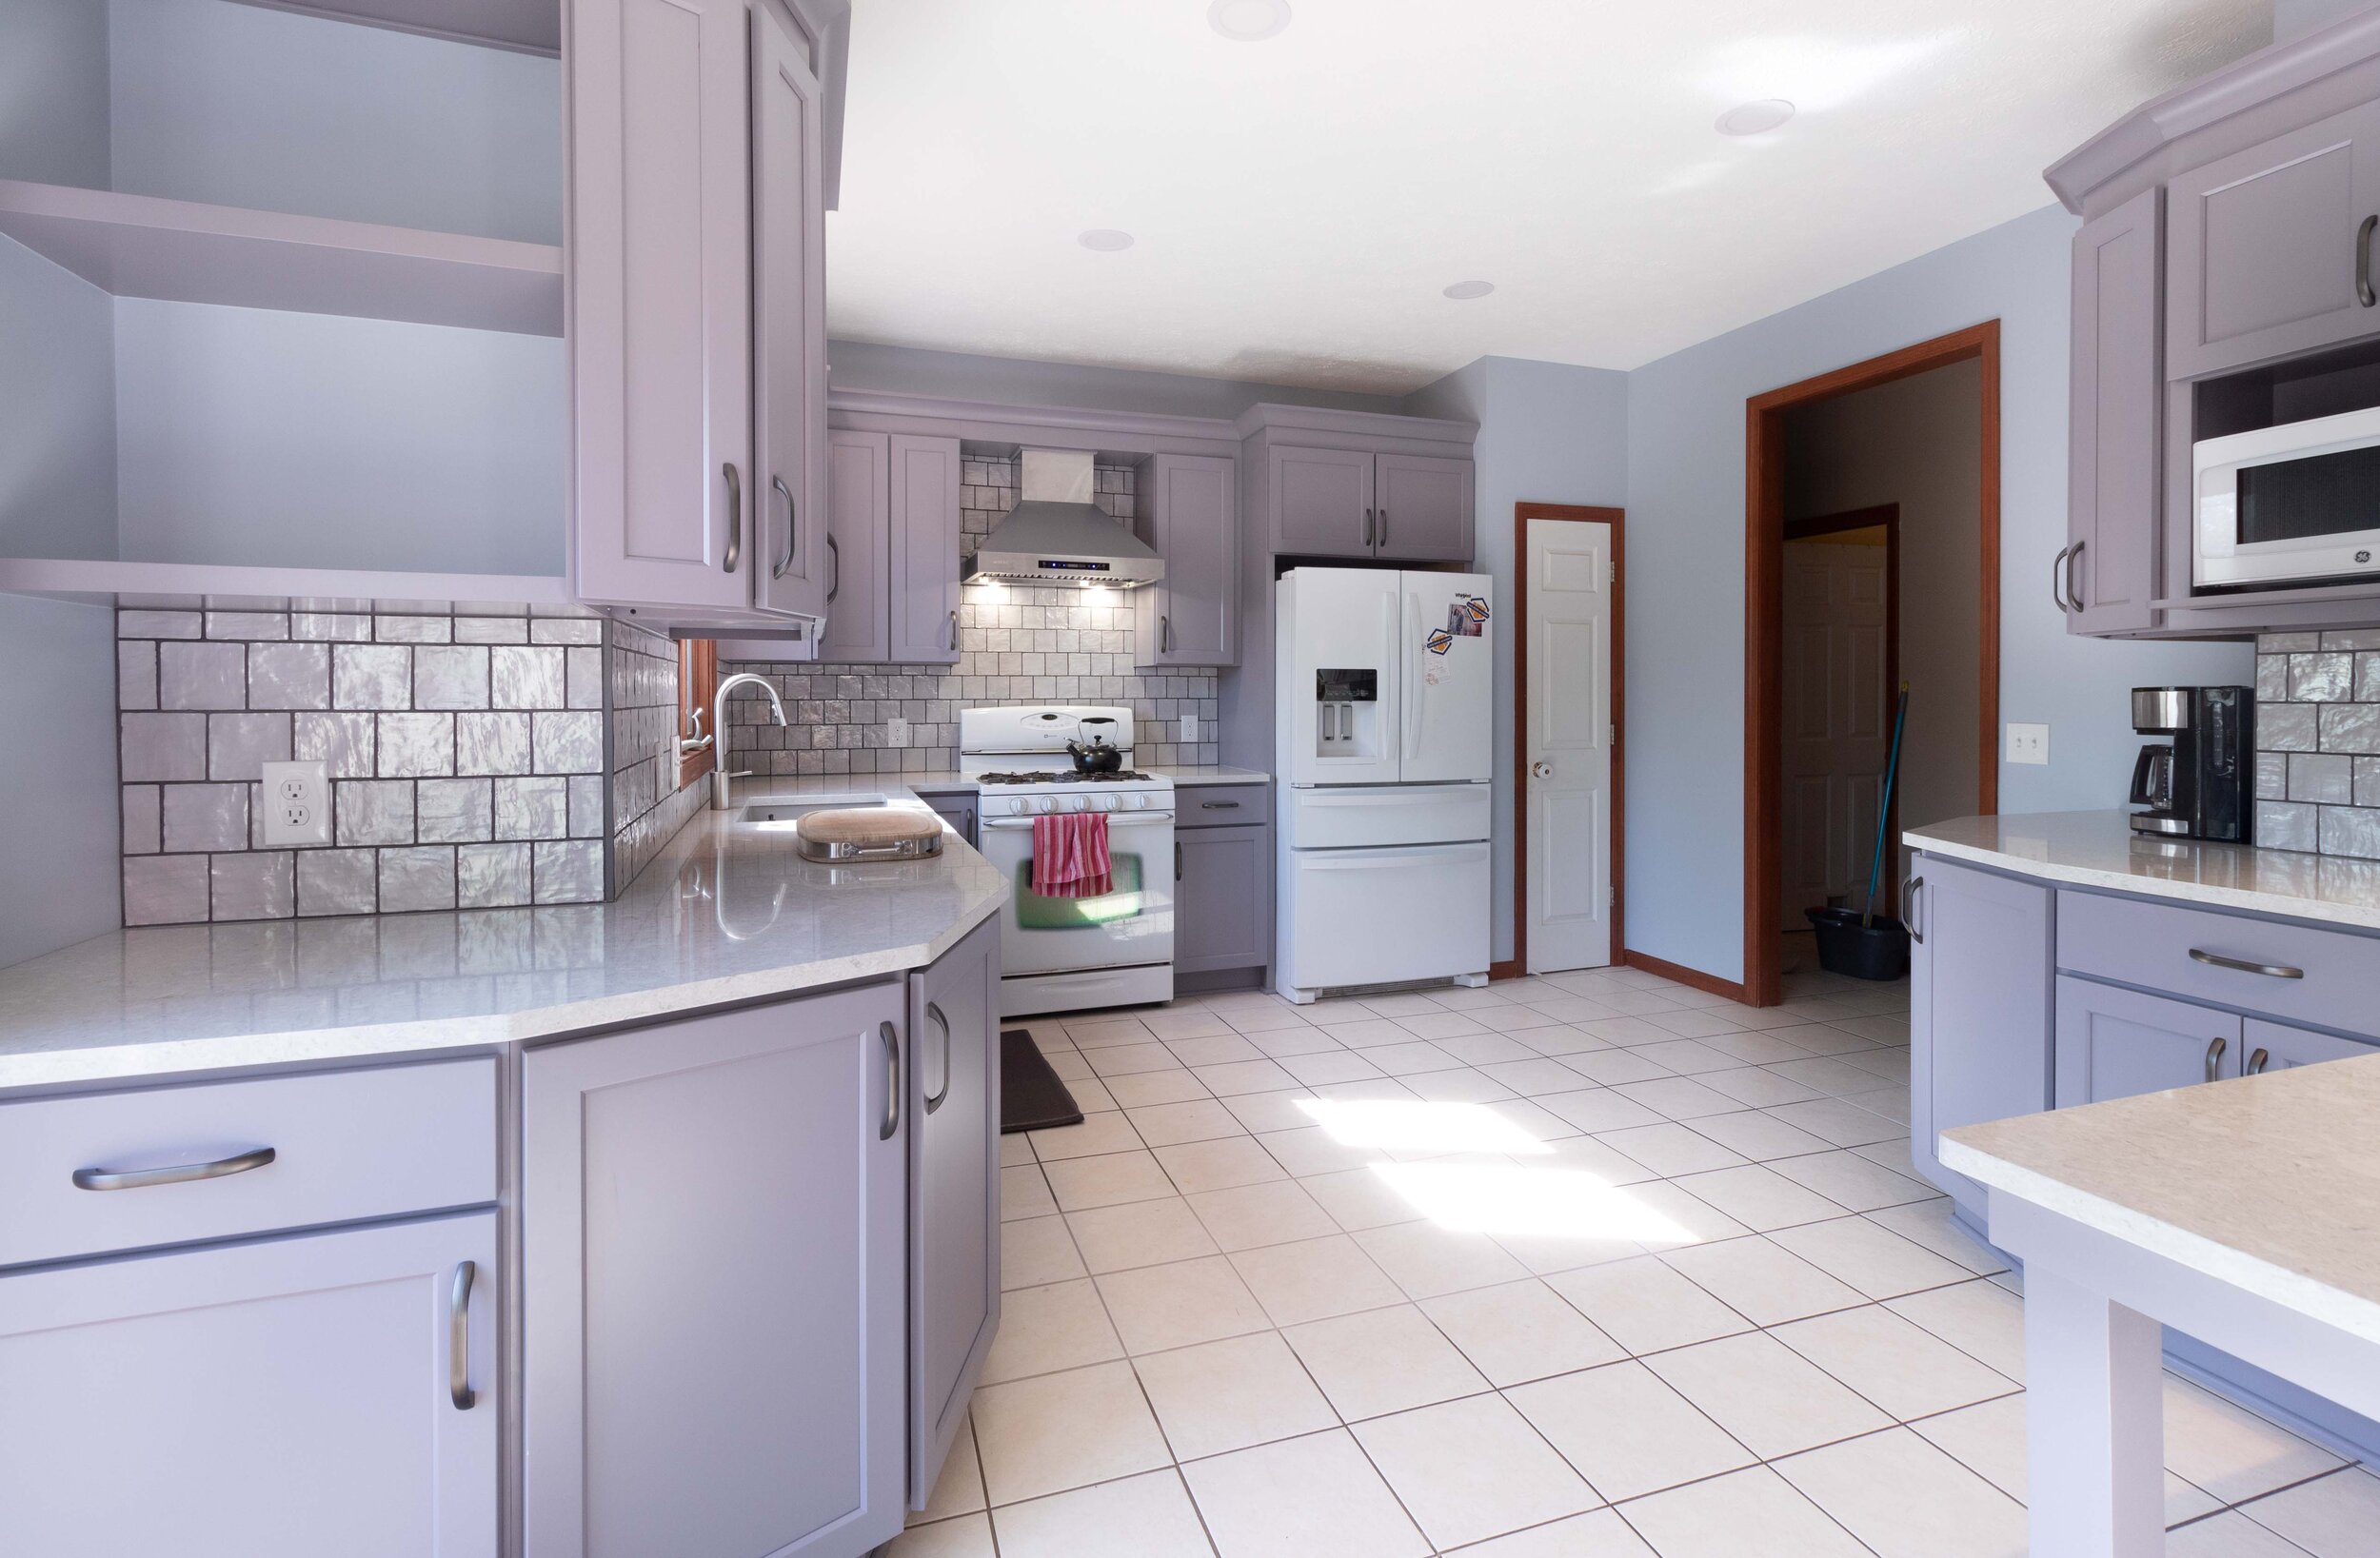
The new kitchen layout optimizes storage and counter space by wrapping cabinetry around existing corners and walls. Moving the peninsula to the opposite side of the kitchen opens up the space while expanding within the existing footprint, lending to the illusion of a much larger kitchen.


This renovation is an example of how utilizing the Design-Build method can provide massive improvements within a kitchen layout. These innovative changes offer useful solutions to the homeowner’s everyday struggles when it comes to functioning within the space.
Offering Useful kitchen Solutions
Though the kitchen footprint was more than sufficient, the original layout did not properly utilize the available space. By wrapping cabinetry around corners, counter space and storage were nearly doubled while also creating a more inviting atmosphere.
The original placement of the dishwasher was in the middle of the kitchen, while the sink was on the adjacent wall. Moving the dishwasher next to the sink removed the need to travel across the kitchen when cleaning dishes, thus allowing more than one person to better use the kitchen at the same time.
Custom cabinetry gave way to using every inch of square footage. This also allowed for a cubby built just for the microwave, opening up even more available counter space.
Moving the peninsula to the opposite side of the room made way for a casual eat-in area, further removing friction when multiple people are using the space.
A Style Refresh
While making the space more useful, stylistic changes were also integrated to create a fresh and appealing atmosphere. The style upgrades are as follows:


(Tile on the kitchen floor was preserved and integrated into the new design.)
Cambria Quartz counter tops in High Gate.
Tile Backsplash from Hamilton Parker in Mallorca Grey.
Grout in #19 Pewter by Custom.
Wall color from Sherwin Williams in Upward.
Custom built shaker style cabinets in a custom paint match.
Fixtures in Brushed Pewter from Edelman’s Westlake.
Cabinet hardware “Sonoma Pulls” in brushed pewter.
Now with a fully upgraded kitchen, our North Ridgeville family has plenty of storage and useful space to make the transition from a family of 3 to 4 a more seamless and stress-free process.
Are you ready to take your kitchen to the next level?
Want to see more blogs like this?

BLOG WRITTEN BY: JENNA RAUS, THE BUSINESS DEVELOPMENT MANAGER FOR ODELL CONSTRUCTION LOCATED IN WESTLAKE OHIO.