
3 Signs It's Time To Replace Your Caulk
3 Signs it’s time to replace your caulk
Did you know that most experts suggest that you replace your caulk every 5 years?
Is it time to re-caulk your shower or tub?

If your caulk is peeling, cracked, or moldy then it's time to replace it.
You can find step by step instructions on re-caulking your shower/tub or sink below.
A Step-By-Step Guide on Replacing Caulk
Pull Out Old Caulking
Slice the top and seams of the old caulk in small sections using either a razor blade or utility knife. This will allow you to pull it out in pieces.
Use a razor blade to scrape any remaining residue being extra careful not to scratch your tile of counter top. (Any remaining old caulk can prevent the new from sticking.)
Prep Your Surface
Use a non-bleach/ non ammonia cleaner and nonabrasive cleaning cloth to gently clean the surface to further remove any residue.
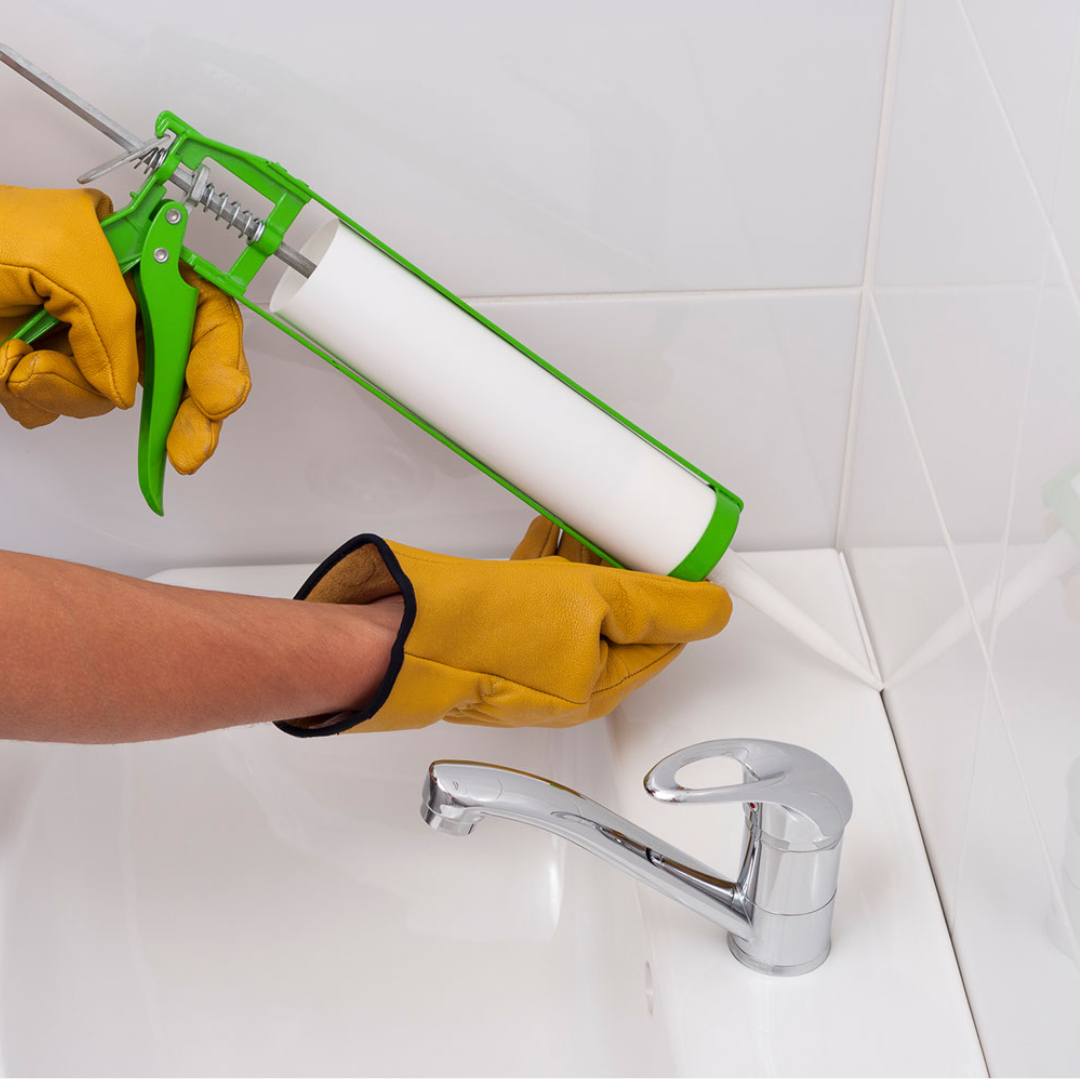
Apply Caulking
Working in manageable sections, use a caulk gun to fill the gaps. The key here is to move steadily and evenly across your surface, so it may not hurt to practice a few times on a piece of scrap to get a feel for the correct amount of pressure to apply.
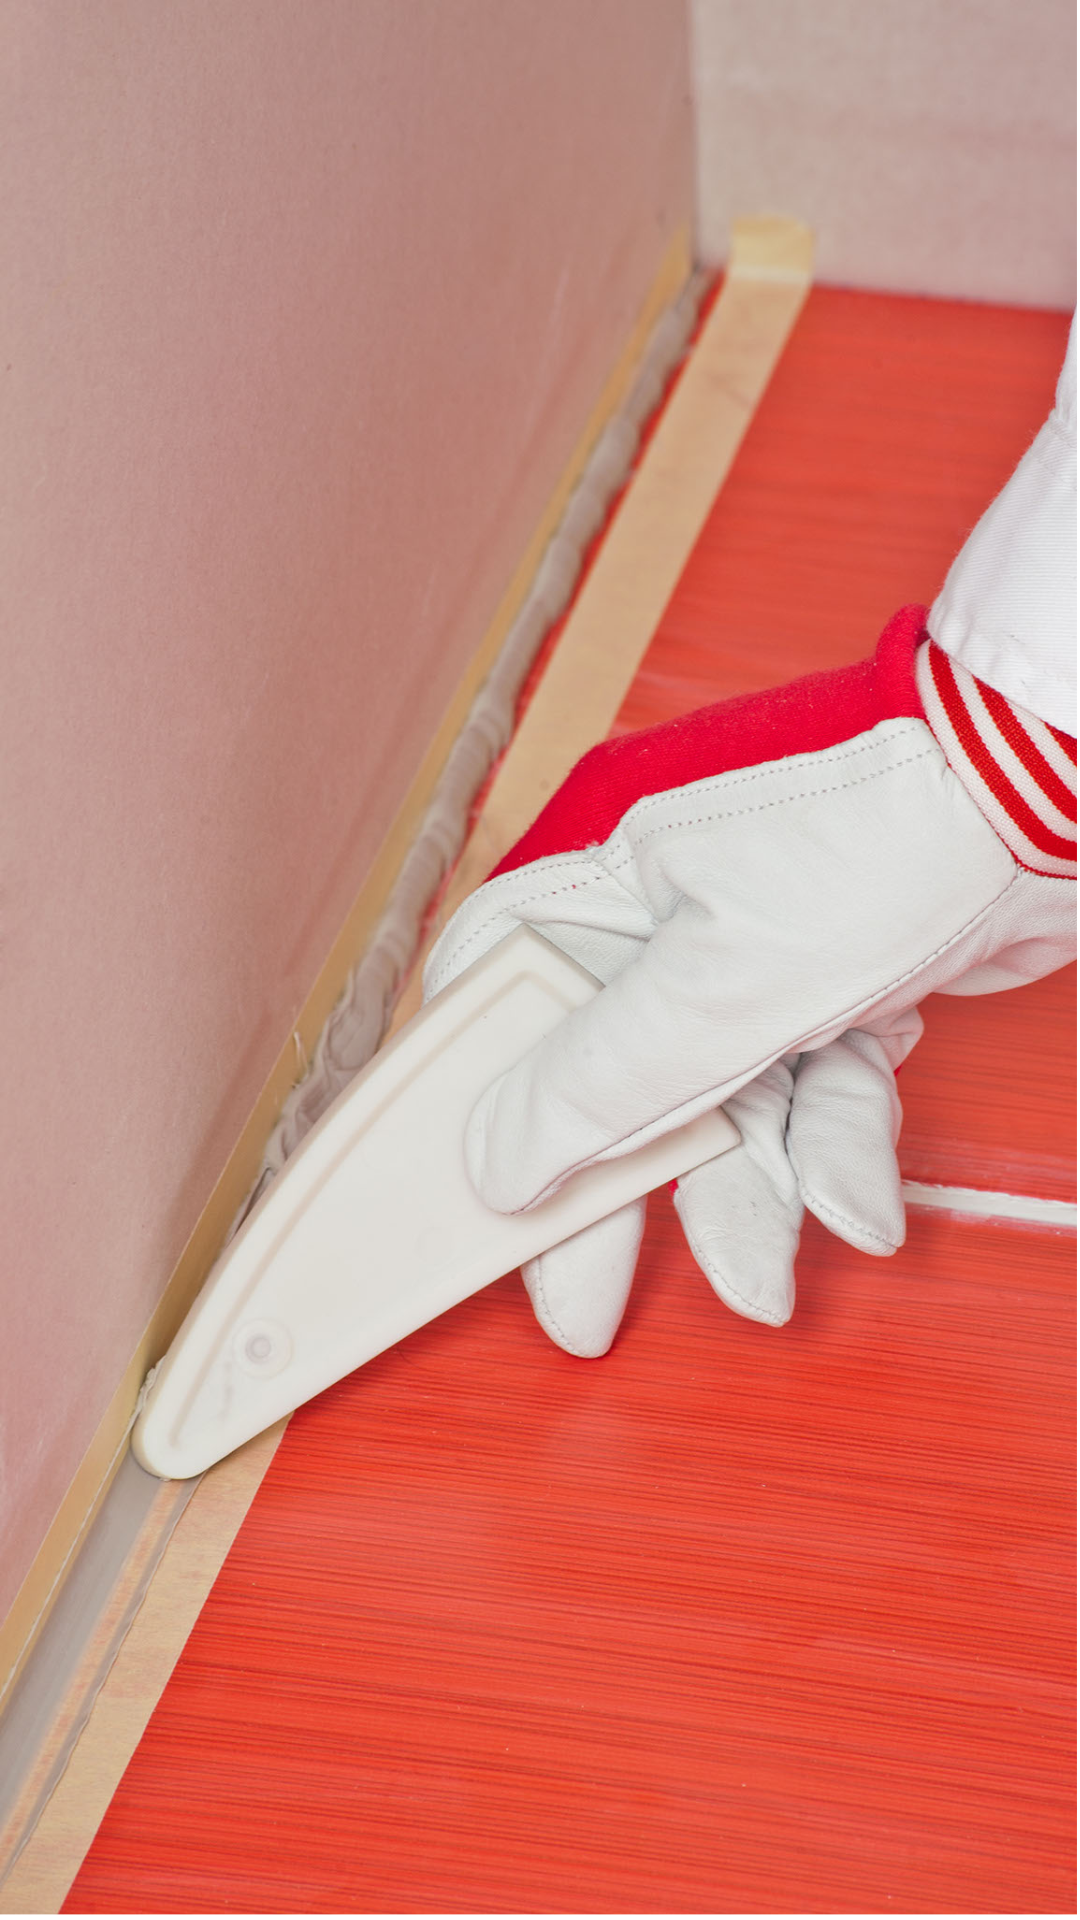
You can use a caulk smoothing tool with a bit of isopropyl alcohol to smooth your beads of caulk.
Allow caulk to dry according to the instructions.
Caulk Maintenance:
Clean you caulk as often as you clean your tile. There's no need for harsh chemicals, a soft tooth brush and vinegar will do.
Hate the smell of vinegar? Baking soda and water will also do the trick!